Wednesday, January 16, 2013

Miss Hartigan dress: Bodice prototype part 2

Sorry everyone for the late post. I didn't really felt like writing it, but I have worked on the dress some more.

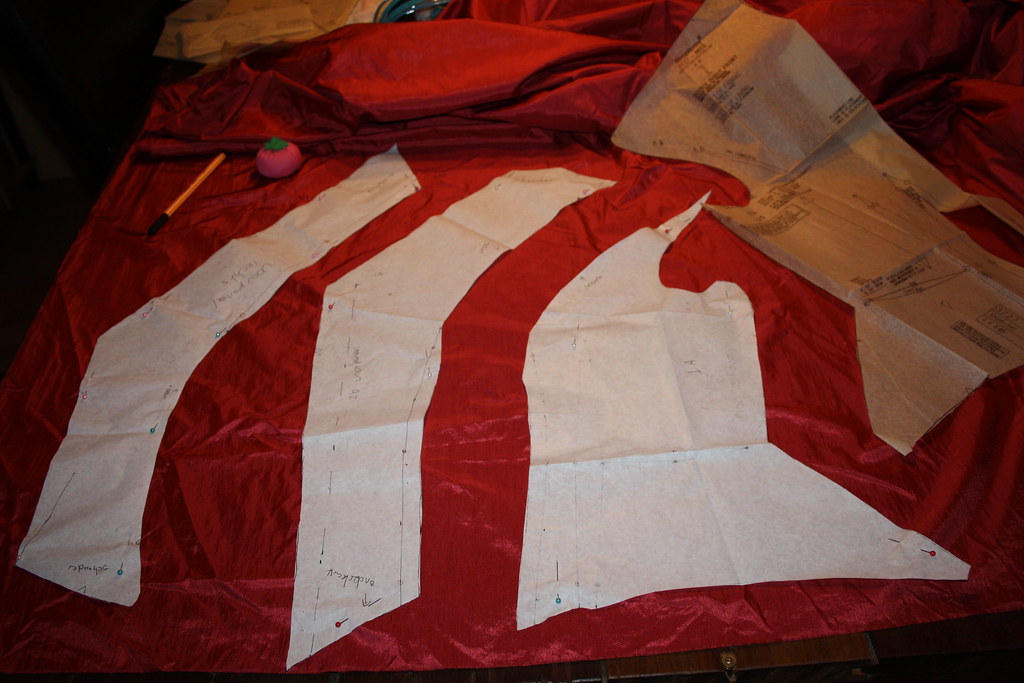
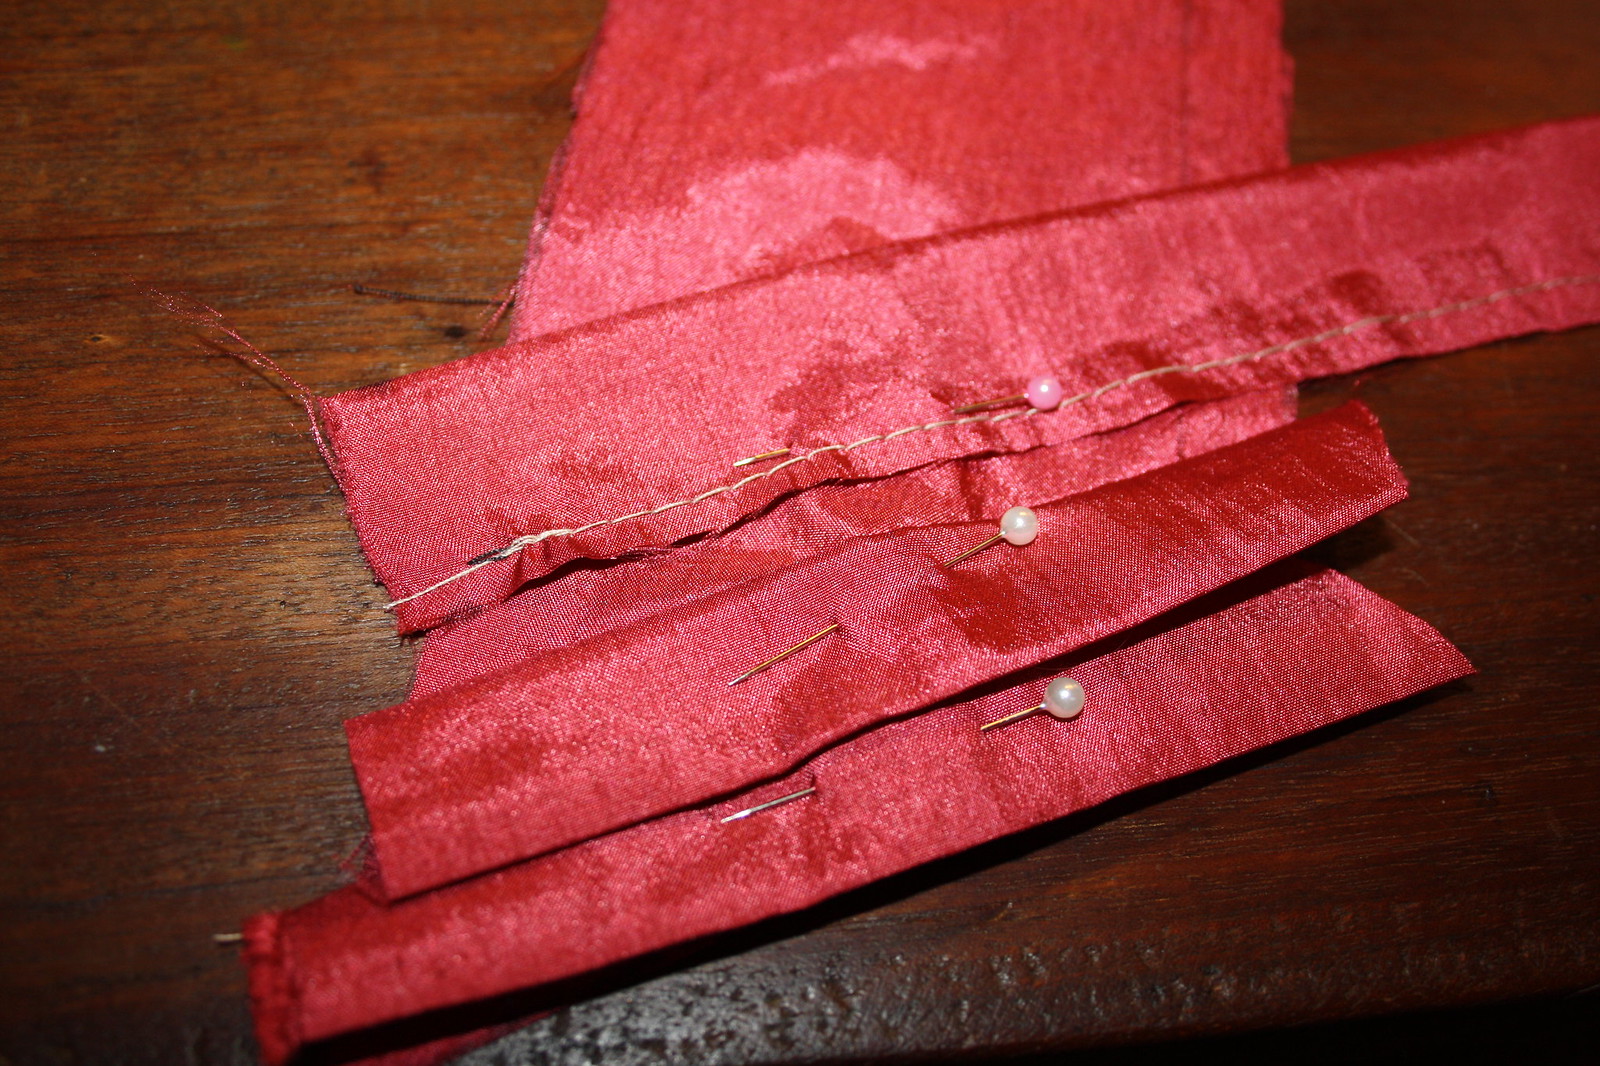
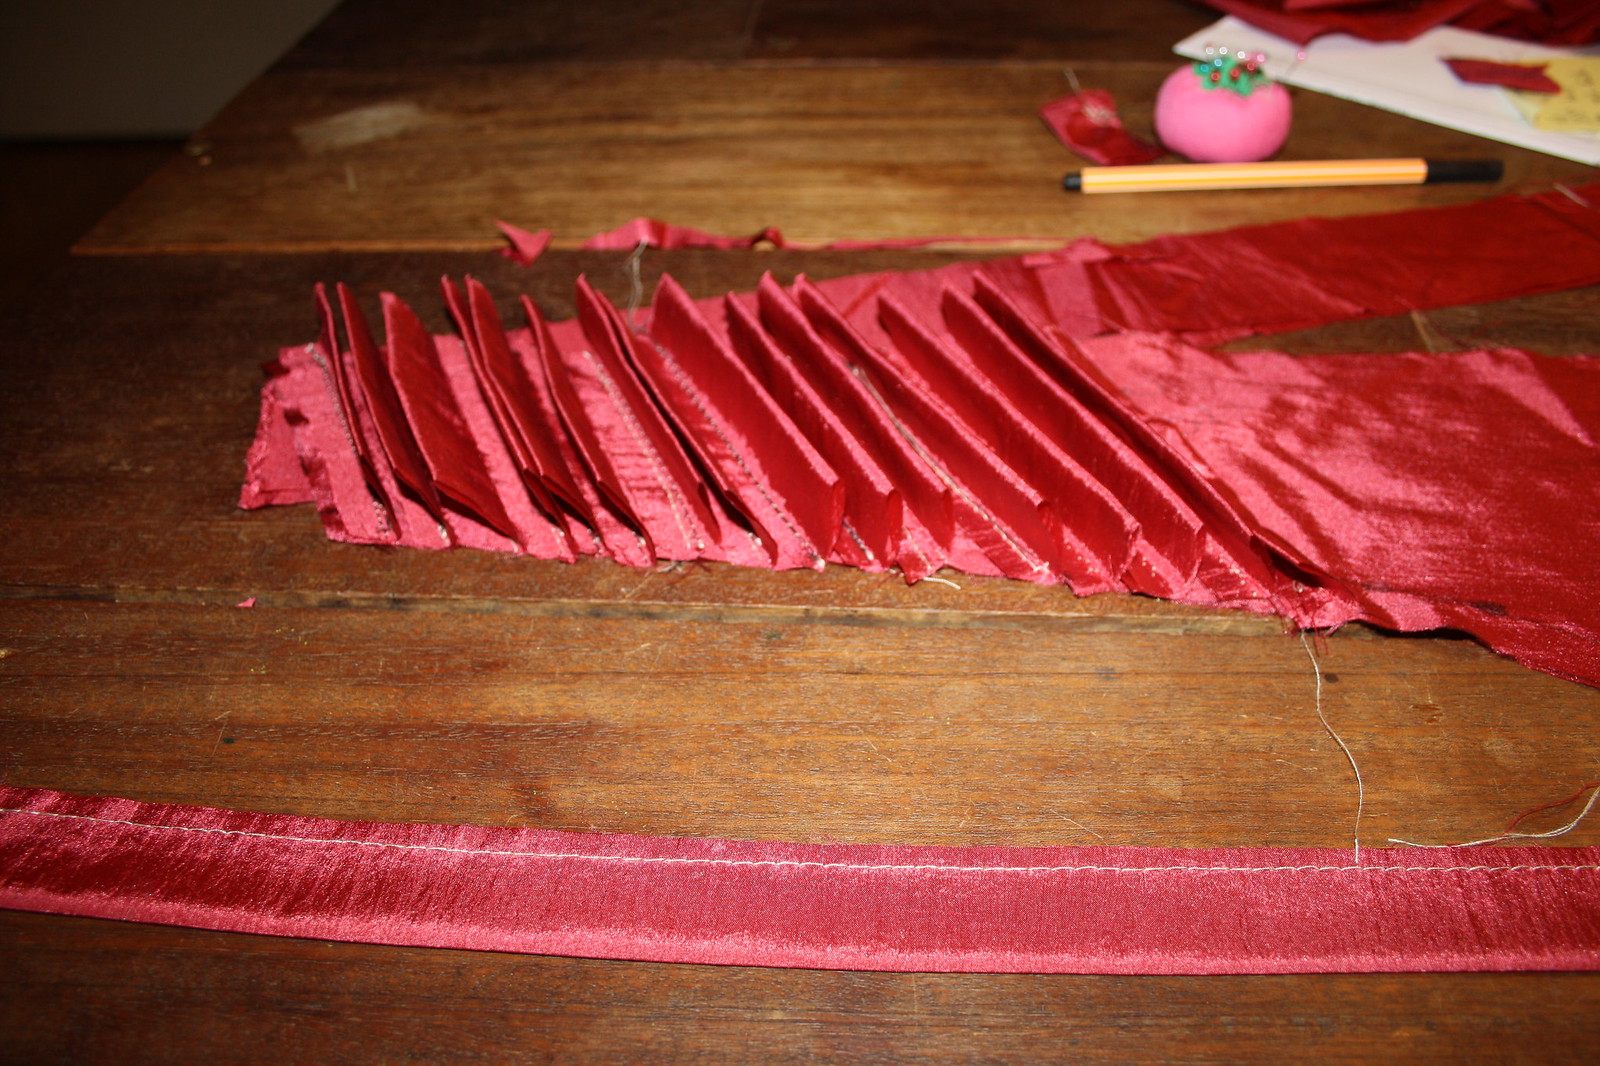
Last time I promised pictures of the finished panel. Here you can see it stitched up to the side part. As you can see I have stitched the sides so the 'flaps' stayed down. It made the panel much easier to work with.


After this I just followed the instructions from the pattern. It was fairly easy. 

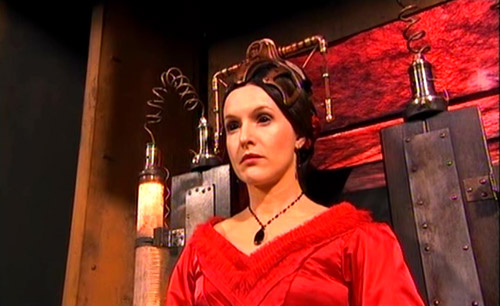
Here's a picture of the first and only fitting. Since it fit right away I didn't have to alter anything. I might allow a little more seam around my bust, but on the whole it fitter quite nicely.  
As you can see it doesn't really close that well but I have not put in all the hooks. Nor did I bother to hem and sleeve it. I might decide to put in a regular old zipper or buttons. Haven't really decided as of yet.

So this was Friday when I finished the protoype bodice. That night I went to check on my fabric order. Only to be horrified when I couldn't find my order. When searching the site I realized I never got an email confirming my order, just the email from Paypal that my payment was made.

Luckily after GREAT service from Phil at http://www.the-millshop-online.co.uk/ who responded quickly on my emails everything was straightened out and I received the silk yesterday(tuesday) afternoon.

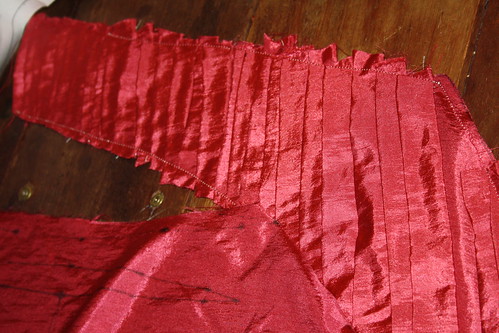
Here's a picture of me, the prototype bodice on the left and the cut pieces of the skirt on the right.

It's a beautiful deep red colour and very sturdy fabric. I wanted to use the same fabric as the protoype for lining, but decided that lining wasn't necessary for the skirt. Although I still might line the bodice since it does need some extra thickness.

Hopefully I can show more pictures tomorrow.

Thursday, January 10, 2013

Miss Hartigan Dress: Bodice Prototype 1

I knew this dress came with a few challenges. The first one was actually easier than I thought (Although I have yet to receive definitive proof that I succeeded, but in theory I have), the second one was just as challenging.

After cutting out all the pattern pieces I had to alter the neckline of the body. This was actually easier done, since the original pattern came with placement lines for fringe, which were an excellent indicator for where I wanted the neckline to go.

Next challenge was the panelling. The pattern has 4 panels, Front left, Side back, Back and Front Right, but the original shows that the front has 4 panels with the 2 centre ones having a sort of strips.

So I had to cut up the pattern to make from 1 panel, 2 panels.  You can see it below. The 2 left white pieces used to be one. There was a dart and from that I extended that line to the shoulder.You can see the original (albeit mirrored) pattern next to it.

Also look at the pretty fabric. Only 1 euro on the market.  It has similar texture to silk and some sort of sheen, so it will also give me a fairly accurate representation of the original is silk. What fabric I have left (I bought 10 mtr) will be used for lining.

On to the next challenge. The strips of fabric on the 2 front panels. I had found a site with clear descriptions with pictures with multiple ways to do it, but it went offline.
So I had to gather the memories of the things I read and saw and asked for some advice from my facebook friends to figure it out.
I decided to make strips about 3cm wide (although I'm thinking about going to about 4cm for the original). I did this by cutting strips of 6cm and folding them double, stitching it close and ironing it flat. Then sew them on the panel upside down, and press them back.

Then the helltask of putting them on the panel started. Halfway through I decided that for the original I would just sew them overlapping the right way (so I don't have to press them back). It's thinner and much less work. Since I have to do the 2 front panels and the back pannel this way I don't want to do more work when it looks the same.


I have one panel finished (after 6 hours of work) so I will do only one panel. With the prototype I didn't really bother with making it even and all, but I will do so with the real thing obviously.

Unfortunately I forgot to take a picture of the finished panel so you will see that tomorrow when I putting the bodice together.

My fabric hasn't arrived yet, nor have I received a shipping notice, but hopefully I'll get that soon. Since I plan to have the bodice finished this weekend.

Tuesday, January 8, 2013

First project: Miss Hartigan from Doctor Who

I've been watching the show for a few years now and I've been wanting to homage the show just as long. When Miss Hartigan first showed up in her signature red dress I said I wanted the dress. Now my brother is also a big fan of the show and wants to dress up as The Doctor. I think it's wonderful and also started thinking about my own Doctor Who cosplay.
As the title suggests I'm going to dress up as Miss Hartigan.
I want to wear it at the Elf Fantasy Fair in Haarzuilens which is held in the Netherlands on 20 & 21 april.
Miss Hartigan
On the first day I want to wear just the dress and maybe the umbrella. Just plain old Miss Hartigan.The second day I will go as the Cyber King.Adding the crown and the black eyes.
The Cyber King
I will be altering the Simplicity pattern 3727.
Simplicity 3727
As you can see I have to alter the Neckline quite a bit. So I will alter the pattern and then use those to first make a prototype in a cheaper fabric. To improve the fit.
I bought my fabric at http://www.the-millshop-online.co.uk/ and I will be using Silk Dupion.
I intend to keep a progress on this blog.