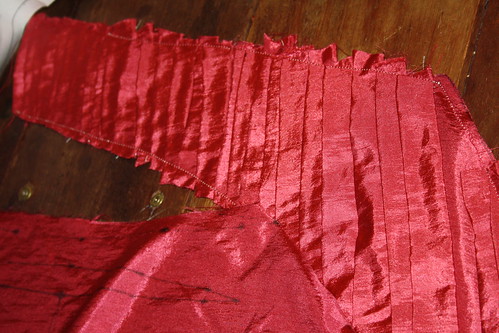
Last time I promised pictures of the finished panel. Here you can see it stitched up to the side part. As you can see I have stitched the sides so the 'flaps' stayed down. It made the panel much easier to work with.
After this I just followed the instructions from the pattern. It was fairly easy.
Here's a picture of the first and only fitting. Since it fit right away I didn't have to alter anything. I might allow a little more seam around my bust, but on the whole it fitter quite nicely.
As you can see it doesn't really close that well but I have not put in all the hooks. Nor did I bother to hem and sleeve it. I might decide to put in a regular old zipper or buttons. Haven't really decided as of yet.So this was Friday when I finished the protoype bodice. That night I went to check on my fabric order. Only to be horrified when I couldn't find my order. When searching the site I realized I never got an email confirming my order, just the email from Paypal that my payment was made.
Luckily after GREAT service from Phil at http://www.the-millshop-online.co.uk/ who responded quickly on my emails everything was straightened out and I received the silk yesterday(tuesday) afternoon.
Here's a picture of me, the prototype bodice on the left and the cut pieces of the skirt on the right.
It's a beautiful deep red colour and very sturdy fabric. I wanted to use the same fabric as the protoype for lining, but decided that lining wasn't necessary for the skirt. Although I still might line the bodice since it does need some extra thickness.
Hopefully I can show more pictures tomorrow.


I'm curious for more pics!!! :D
ReplyDelete